
Composting at Home: Turning Kitchen Scraps Into Garden Gold

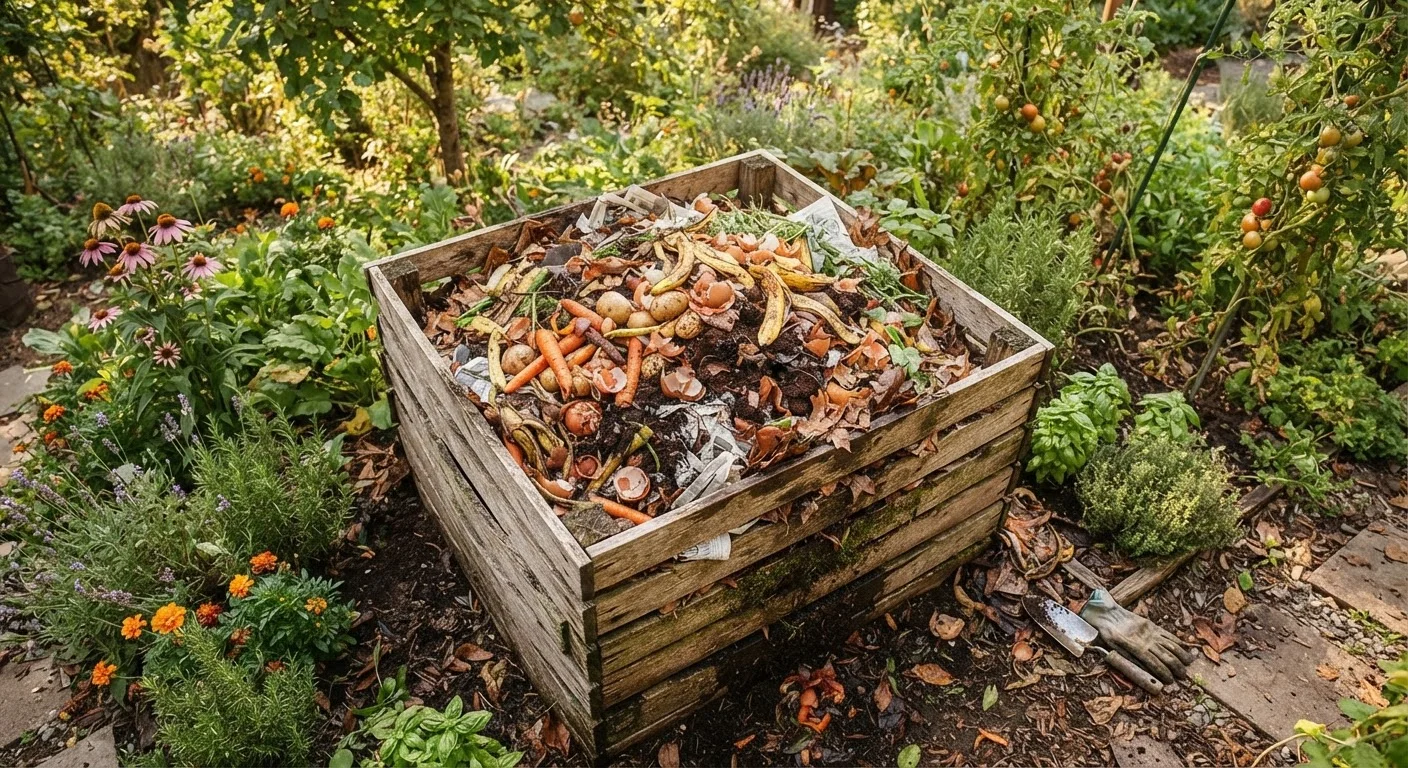
Photo: InsightsChief.com | Your Source Of Trusted Insights editorial
Key Takeaways
- Composting diverts kitchen scraps from landfill and produces free soil amendment for your garden.
- A healthy pile needs a balanced mix of 'greens' (nitrogen-rich) and 'browns' (carbon-rich) materials.
- Moisture, airflow, and regular turning are the three maintenance levers that speed decomposition.
- Meat, dairy, and diseased plant matter should always stay out of a home compost bin.
- Finished compost can replace or reduce purchased soil amendments, lowering ongoing garden costs.
Why Home Composting Makes Sense for Budget Gardeners
Purchased bagged compost and soil amendments are a recurring garden expense that compounds across seasons. Home composting converts material you already generate - vegetable peels, fruit scraps, coffee grounds, and yard waste - into a soil amendment that improves drainage, feeds soil biology, and supports plant health, all at no ongoing cost.
Beyond garden economics, composting diverts organic waste from the landfill, where it would decompose anaerobically and release methane. For households already looking to reduce food waste, composting works naturally alongside habits like structured meal planning. See our guide to family meal planning for strategies that also reduce the volume of food scraps you generate in the first place.
Whether you're building a raised bed or an in-ground plot, finished compost is one of the most versatile soil improvements available - and the only one you can make entirely at home.
Compost bin or pile enclosure
Contains materials, retains heat, and keeps pests out; can be a purchased unit, a DIY wooden pallet frame, or a simple wire cylinder.
Garden fork or compost turning tool
Used to aerate and turn the pile, which accelerates decomposition by introducing oxygen.
Kitchen scrap container with lid
Collects vegetable peels, coffee grounds, and other organic kitchen waste between trips to the outdoor bin.
Garden hose or watering can
Adds moisture when the pile becomes too dry, which is essential for microbial activity.
Thermometer (compost type)
Measures internal pile temperature to confirm the pile is actively decomposing; useful but not essential for casual composting.
What to Add - and What to Leave Out
The range of compostable materials is wider than most beginners expect. Accepted greens include vegetable and fruit scraps (including citrus in moderate amounts), coffee grounds and paper filters, tea bags (remove staples), fresh plant trimmings, and grass clippings. Accepted browns include dry autumn leaves, shredded newspaper and cardboard, paper egg cartons, straw, and untreated wood chips.
Keep These Materials Out Entirely
A few other materials sit in a gray zone. Eggshells are fine to add - they decompose slowly but eventually contribute calcium. Small amounts of plain cooked grains or bread can technically be composted if buried deep in an active pile, but they attract pests and are generally not worth the risk in a home setting.
If your garden has been underperforming despite regular watering, poor soil biology is often a contributing factor. Our article on why vegetable gardens underperform covers this and other fixable causes in detail.
Maintaining Your Pile and Troubleshooting Common Problems
Active composting is a low-effort but consistent habit. The three maintenance variables - moisture, aeration, and balance - account for nearly every common problem.
Avoid Anaerobic (Smelly) Conditions
Speed Up Decomposition Naturally
Pests are the other frequent concern. A pile that is properly balanced, kept moist (not wet), and has kitchen scraps buried rather than surface-scattered is rarely a serious pest problem. If rodents are an issue, switching to a rodent-resistant bin with a solid base and close-fitting lid solves most cases.
Finished compost pairs well with other organic soil management strategies. For example, applying the right mulch type over a compost-amended bed helps retain moisture and suppresses weeds simultaneously. If you're gardening in containers or a small patio space, see our container gardening guide for advice on incorporating compost into potting mixes. For those just getting started outdoors, the first-time gardener's roadmap provides a practical foundation to build on.
Choose and set up your composting system
Select a location that receives partial shade - full sun dries the pile out too quickly, while deep shade slows microbial activity. A 3×3×3-foot minimum volume is the practical threshold for a pile that generates enough internal heat to decompose efficiently.
Options range from a simple open pile contained by wire mesh or wooden pallets, to a purchased dual-chamber bin. A dual-chamber design lets you add fresh material to one side while finished compost cures on the other - useful if you generate scraps continuously.
Understand greens vs. browns and stock both
Greens are nitrogen-rich materials: vegetable and fruit scraps, coffee grounds, fresh grass clippings, and plant trimmings. They fuel microbial growth but can make the pile wet and smelly if overdone.
Browns are carbon-rich materials: dry leaves, shredded cardboard, paper towel rolls, straw, and wood chips. They create airflow, absorb excess moisture, and balance the pile's chemistry.
A widely cited target ratio is roughly 2-3 parts browns to 1 part greens by volume. In practice, if the pile smells or looks slimy, add more browns; if it's bone dry and not breaking down, add greens or water.
Layer and add materials correctly
Start the pile with a 4-6 inch layer of coarse browns (like small twigs or wood chips) at the base to promote drainage and airflow from below. Alternate layers of greens and browns as you add material rather than dumping everything in one category at once.
Bury fresh kitchen scraps in the center of the pile rather than leaving them on top - this discourages fruit flies and deters scavengers.
Maintain moisture and aeration
The pile should feel about as damp as a wrung-out sponge - moist throughout but not dripping. During dry weather, water lightly with a garden hose. During extended rain, cover the pile with a tarp or fitted lid to prevent waterlogging.
Turn the pile with a garden fork every one to two weeks, moving material from the outer edges toward the center. This introduces oxygen, which is the primary driver of aerobic (fast, odorless) decomposition.
Recognize and harvest finished compost
Finished compost looks like dark, crumbly soil, smells earthy (similar to forest floor), and contains no recognizable original materials. This typically takes three to six months under active management, or six to twelve months in a slower, less-tended pile.
To harvest, stop adding new material to the bin and allow the remaining pile to finish. Screen the compost through a half-inch mesh to remove any large unfinished pieces - return those chunks to a new pile. Finished compost can be worked into garden beds, used as a top dressing around plants, or blended into potting mixes.
What you will need
The content provided on our blog site traverses numerous categories, offering readers valuable and practical information. Readers can use the editorial team’s research and data to gain more insights into their topics of interest. However, they are requested not to treat the articles as conclusive. The website team cannot be held responsible for differences in data or inaccuracies found across other platforms. Please also note that the site might also miss out on various schemes and offers available that the readers may find more beneficial than the ones we cover.