
Weatherproofing Your Home Before Winter Arrives

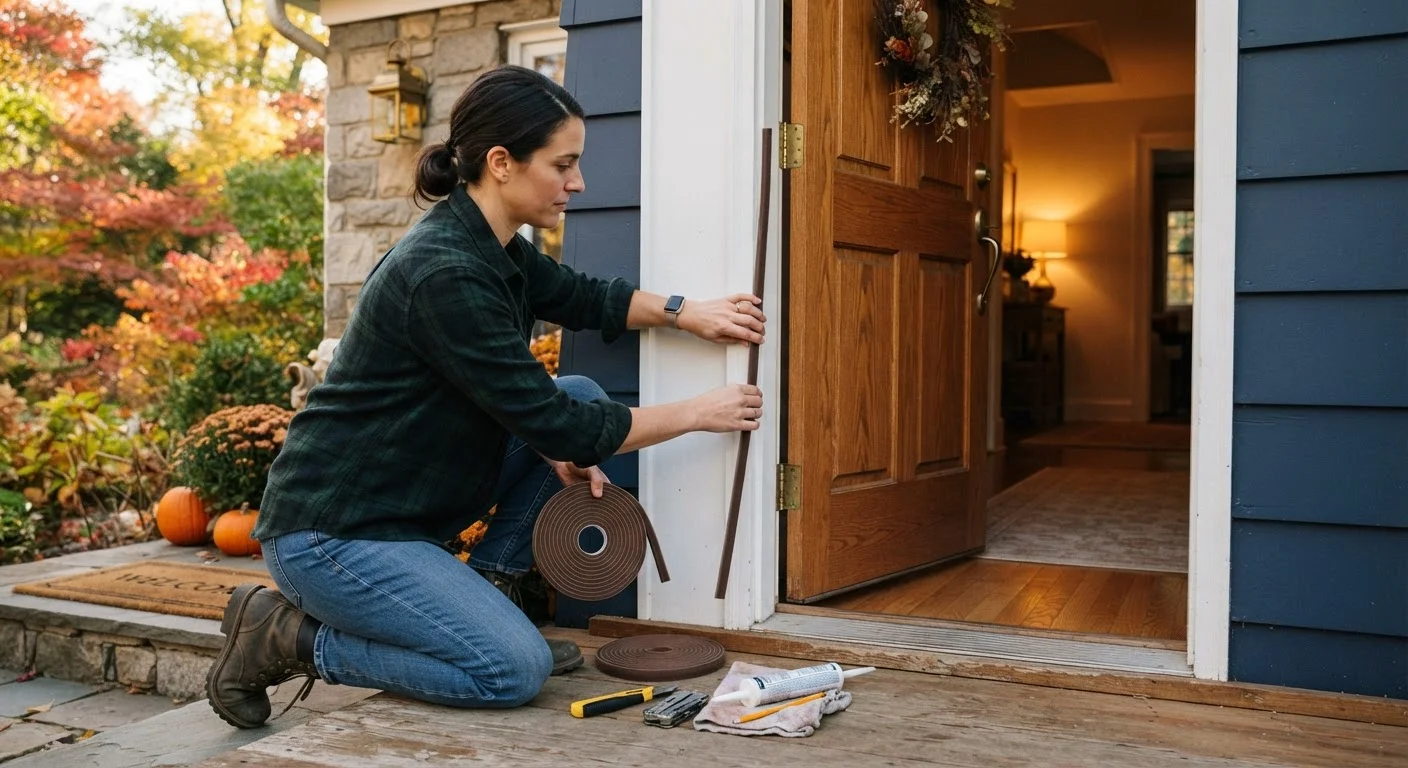
Photo: InsightsChief.com | Your Source Of Trusted Insights editorial
Key Takeaways
- Air sealing doors, windows, and attic bypasses can meaningfully reduce heating costs each winter.
- Insulating exposed pipes in unheated spaces helps prevent costly freeze-and-burst damage.
- A furnace filter swap and thermostat check before the first cold snap can extend equipment life.
- Gutters should be cleared before winter so ice dams cannot form and damage your roof or fascia.
- Most weatherproofing tasks are beginner-friendly DIY projects requiring basic tools and materials.
- Addressing small issues now is nearly always less expensive than emergency repairs mid-winter.
Why Autumn Is the Right Time to Act
Cold weather doesn't announce itself with much warning. Temperatures can drop sharply within days, and tasks that take an hour in mild weather become genuinely miserable - or even unsafe - once frost arrives. That's why late summer through mid-autumn is the practical window for most weatherproofing work.
Beyond comfort, the financial case is strong. The U.S. Department of Energy has long noted that air leaks alone can account for a significant share of a home's heating and cooling loss. Addressing drafts and insulation gaps before winter means your heating system isn't working overtime to compensate for heat escaping through gaps you could have sealed yourself with a tube of caulk.
For a broader view of what else autumn demands of your home, see our annual home maintenance calendar - it puts these tasks into a month-by-month framework that makes nothing easy to miss.
What you will need
What You'll Need Before You Start
Gather your supplies before working room by room. Having everything on hand prevents half-finished jobs and makes it easier to move through the house systematically.
Caulk gun and silicone or latex caulk
Seals stationary gaps around window frames, door frames, and exterior penetrations.
Weatherstripping (foam, felt, or door sweep)
Creates a compressible seal on moving parts such as door edges and bottom gaps.
Furnace filter (correct size for your unit)
Replaces a clogged filter to maintain airflow efficiency and protect heating equipment.
Pipe insulation foam sleeves
Wraps exposed water pipes in unheated spaces to prevent freezing.
Gutter scoop or garden trowel
Removes leaf and debris buildup from gutters before winter precipitation arrives.
Flashlight or headlamp
Illuminates dark crawl spaces, attic edges, and basement pipe runs for inspection.
Programmable or smart thermostat
Allows scheduled temperature setbacks overnight to reduce heating costs without sacrificing comfort.
Incense stick or smoke pencil
Detects drafts by revealing air movement near windows, outlets, and baseboards.
If you're uncertain whether a gap calls for caulk or weatherstripping, our companion guide on caulking vs. weatherstripping walks through how to choose the right approach for each type of opening.
Step-by-Step: Sealing, Protecting, and Preparing
Work through the steps below in order. The sequence moves from the building envelope inward, so you address the largest heat-loss sources first.
Inspect and Seal Exterior Gaps
Walk the perimeter of your home and look for gaps where different materials meet: where siding meets window trim, where pipes or wires enter the wall, and where foundation meets framing. Any gap wider than about 1/4 inch is a meaningful air leak. Apply exterior-grade caulk to stationary cracks and joints. For larger gaps (over 3/4 inch), use a backer rod first, then caulk over it.
Weatherstrip Doors and Windows
Close each exterior door and look for daylight around the frame - if you can see light, you're losing heat. Replace worn door sweeps along the bottom edge and apply foam or felt weatherstripping to the door stop where the door closes against the frame. For double-hung windows, check the meeting rail and sash channels for gaps and apply appropriate strip material.
Insulate Exposed Pipes
Locate water supply pipes in unheated areas: garages, crawl spaces, exterior wall cavities, and unconditioned basements. Slide pre-slit foam pipe insulation sleeves over each pipe and secure with tape at joints. Pay close attention to pipes along exterior walls and near rim joists, where cold air infiltrates most readily.
Service Your Heating System
Replace the furnace or heat pump filter before the heating season starts - a clogged filter reduces airflow, strains the blower motor, and raises energy use. Check that all supply and return vents are open and unobstructed by furniture. If your system hasn't been professionally serviced in the past year, scheduling a tune-up before peak demand season is worthwhile for efficiency and safety.
Clear Gutters and Downspouts
Remove leaves, seed pods, and debris from gutters so that meltwater and rain drain freely. Clogged gutters allow water to back up, freeze, and work under shingles - a condition known as an ice dam. Flush downspouts with a garden hose to confirm they flow freely and discharge water away from the foundation.
Check the Attic Hatch and Seal Bypasses
The attic hatch is often uninsulated and unsealed, acting as a direct chimney for warm air. Add weatherstripping around the hatch frame and glue rigid foam insulation board to the back of the hatch panel itself. While you're up there, look for open gaps around recessed lights, plumbing stacks, and electrical chases - these bypasses can be sealed with fire-rated caulk or foam rated for that application.
For a deeper look at how insulation and ventilation interact above your ceiling, see our guide on home insulation from the ground up.
Test Your Work With a Simple Draft Check
Common Oversights and Long-Term Thinking
Even thorough homeowners tend to skip a few areas. The attic is one of the most overlooked - warm air rises and escapes through hatch edges, recessed lighting, and plumbing penetrations before it ever reaches the living space. Our guide to attic insulation and ventilation explains how to evaluate what's up there and what signs point to problems.
Roofing is another area where autumn prep pays off. Ice dams - ridges of ice that form at the eave when heat escapes through the roof - can lift shingles and allow water infiltration. Keeping gutters clear and ensuring your attic is properly insulated and ventilated reduces that risk considerably. For more on what small roof problems can become, see why small roof leaks turn into big problems.
Finally, it's worth acknowledging that deferred maintenance compounds quickly. Tasks skipped this autumn rarely fix themselves - they typically become more expensive repairs in spring. Our article on tasks homeowners frequently put off makes the cost case plainly.
Know When to Call a Licensed Professional
The content provided on our blog site traverses numerous categories, offering readers valuable and practical information. Readers can use the editorial team’s research and data to gain more insights into their topics of interest. However, they are requested not to treat the articles as conclusive. The website team cannot be held responsible for differences in data or inaccuracies found across other platforms. Please also note that the site might also miss out on various schemes and offers available that the readers may find more beneficial than the ones we cover.