
Caulking vs. Weatherstripping: Choosing the Right Seal for Each Gap

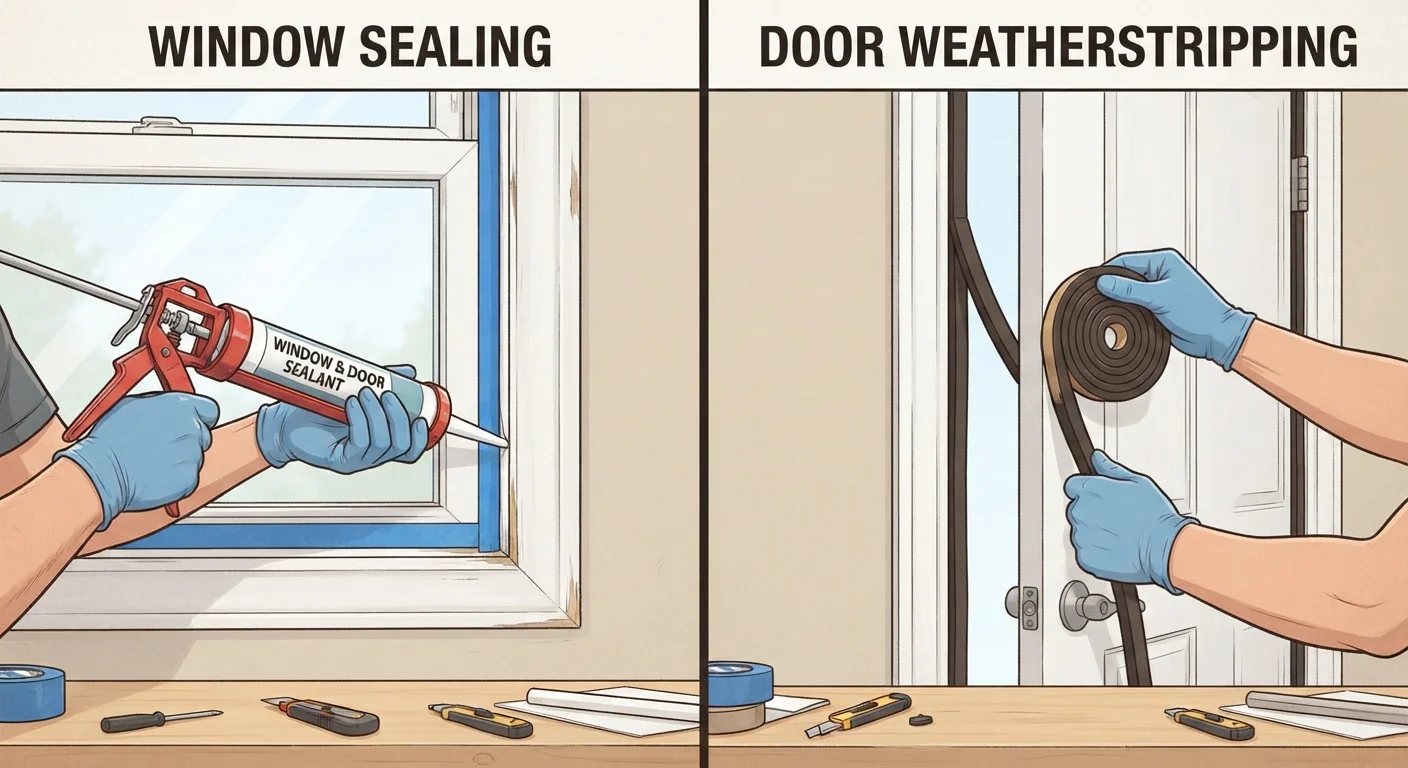
Photo: InsightsChief.com | Your Source Of Trusted Insights editorial
Key Takeaways
- Caulking is designed for stationary gaps; weatherstripping handles gaps around moving parts like doors and operable windows.
- Using caulk on a door threshold can trap moisture and interfere with door operation - a common DIY mistake.
- Many drafty homes need both solutions applied in combination for effective air sealing.
- Weatherstripping typically needs replacement every few years; exterior caulk can last 5-10 years with proper application.
- Choosing the wrong sealant type can cause damage, moisture buildup, or wasted energy over time.
Why the Right Seal Matters More Than You Think
A small draft under a door or beside a window frame might seem trivial, but air leaks are among the most consistent sources of wasted energy in US homes. According to the U.S. Department of Energy, air leakage can account for a significant share of heating and cooling costs - and many of those leaks can be addressed with materials costing just a few dollars.
The challenge is that homeowners often reach for whichever product is closest, applying caulk where weatherstripping belongs, or vice versa. This not only fails to fix the problem - it can make it worse. As our piece on deferred home maintenance explains, small misapplied fixes have a way of compounding over time.
Understanding what each product is designed to do is the essential first step.
| Criterion | Caulking | Weatherstripping |
|---|---|---|
| Best for | Stationary, fixed gaps | Gaps around moving parts |
| Typical locations | Window frames, siding joints, pipe penetrations | Door jambs, operable windows, door bottoms |
| Material form | Applied as a bead, cures rigid | Foam, rubber, or V-strip; compressible |
| DIY skill level | Low to moderate | Low |
| Typical lifespan | 5-10 years (exterior silicone) | 2-5 years depending on use |
| Failure if misapplied | Cracks, peels, traps moisture | Compresses unevenly, tears, fails to seal |
| Paintable | Yes (latex/acrylic types) | Rarely |
Caulking: Where and How to Use It
Caulk is a flexible sealant that cures into a semi-rigid bead, bonding two adjacent surfaces together. It's engineered for stationary joints - places where two materials meet but don't move relative to one another.
Ideal caulking locations:
- Around fixed window frames (exterior and interior)
- Along baseboards and crown molding
- Where siding meets trim or a foundation
- Around exterior penetrations like pipes, vents, and light fixtures
- Along the interior joint where a window frame meets drywall
The most important rule: never apply caulk to a surface that moves. Door frames, for example, flex slightly every time the door opens. Caulking those joints will crack within months and may interfere with the door's operation. For bathroom-specific guidance, see our article on when to clean, repair, or replace bathroom caulk and grout.
When selecting caulk, the general categories include silicone (highly durable, water-resistant, best for exterior use), latex or acrylic-latex (paintable, easier to work with, suited for interior gaps), and specialized formulations for high-heat or high-moisture environments. Always verify that the product is rated for your intended surface and exposure.
25-30%
Heating/cooling energy lost to air leaks
The U.S. Department of Energy estimates that air leakage accounts for roughly 25-30% of heating and cooling energy use in a typical home.
$20-$50
Typical cost to weatherstrip one door
Consumer-grade weatherstripping kits for a standard exterior door generally range from roughly $20 to $50 depending on material type and door size.
Weatherstripping: Where and How to Use It
Weatherstripping is a compressible material applied along the edges of movable components - primarily doors and operable windows. Unlike caulk, it's designed to be compressed repeatedly without losing its ability to form a tight seal.
Ideal weatherstripping locations:
- Along the top and side jambs of exterior doors
- At the bottom of exterior doors (door sweeps are a related product)
- Around the sashes of double-hung or casement windows that open
- On garage doors and attic access hatches
Common weatherstripping materials include foam tape (inexpensive, easy to install, shorter lifespan), V-strip or tension seal (durable, works well along door sides), door sweeps (for the gap at the bottom of exterior doors), and reinforced rubber or silicone bulb seals (longer-lasting, found on higher-quality door sets).
Weatherstripping typically needs inspection and replacement every 2-5 years depending on use and climate. Signs it's failing include visible daylight around a closed door, drafts at waist or knee height, or a door that no longer closes snugly. For a broader seasonal approach, see our guide on weatherproofing your home before winter.
Using Both Together: A Complete Air-Sealing Strategy
In most homes, effective air sealing requires both products - applied in the right places. A common inspection approach is to walk through your home on a windy day and run your hand along window frames, door edges, and wall penetrations. You can also hold a lit incense stick near suspected leak points and watch for smoke movement. Neither method is perfectly precise, but both can reveal the worst offenders without specialized equipment.
A practical room-by-room checklist might look like this:
- Exterior doors: Weatherstripping on jambs and top, door sweep at the bottom.
- Fixed windows: Caulk on the exterior frame-to-siding joint and interior frame-to-drywall joint.
- Operable windows: Weatherstripping on the sash, caulk on fixed exterior joints only.
- Wall penetrations (pipes, outlets, fixtures): Caulk or appropriate foam sealant.
- Basement rim joists and sill plates: Foam board insulation and caulk - but consult a professional for significant structural gaps.
Note that any work involving structural openings, gas lines, or significant electrical penetrations should be evaluated by a licensed contractor. Permits may be required for certain scope of work depending on your local building code.
Together, these two inexpensive materials address the majority of residential air leakage points. The payoff - lower utility bills, improved comfort, and less wear on heating and cooling systems - builds over time, making this one of the most cost-effective maintenance tasks a homeowner can undertake.
When to Call a Professional
The content provided on our blog site traverses numerous categories, offering readers valuable and practical information. Readers can use the editorial team’s research and data to gain more insights into their topics of interest. However, they are requested not to treat the articles as conclusive. The website team cannot be held responsible for differences in data or inaccuracies found across other platforms. Please also note that the site might also miss out on various schemes and offers available that the readers may find more beneficial than the ones we cover.