
Why Painted Cabinets Chip (and How to Prep Them So They Don't)

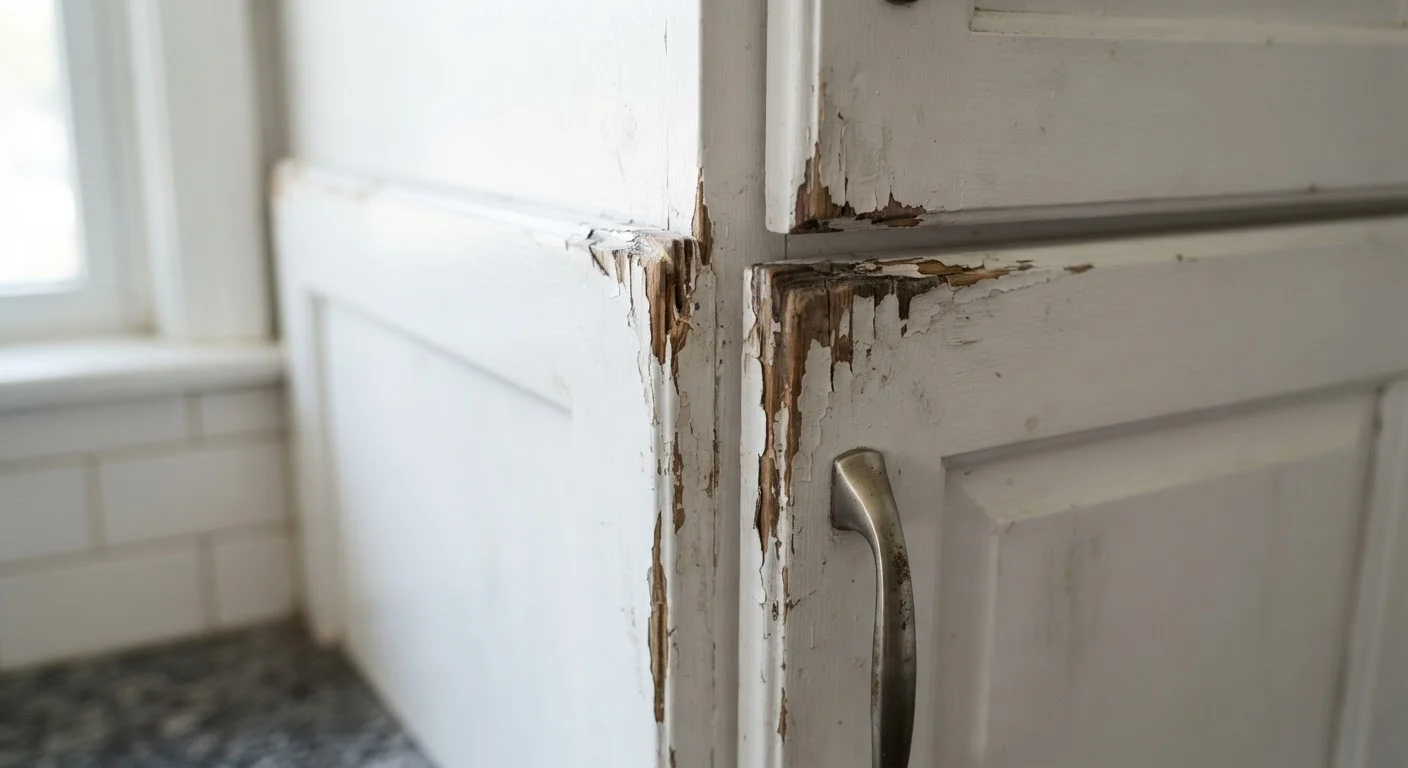
Photo: InsightsChief.com | Your Source Of Trusted Insights editorial
Key Takeaways
- Cabinet paint failures almost always result from inadequate surface preparation, not paint quality.
- Skipping degreasing is the single most common cause of adhesion failure on kitchen cabinets.
- Light sanding and a bonding primer are non-negotiable steps before any topcoat is applied.
- Allowing proper dry time between coats dramatically reduces the risk of peeling and chipping.
- Hardware and doors should be removed before painting for a durable, professional-quality result.
Why Cabinet Paint Fails in the First Place
Painted cabinets that chip, peel, or scuff within a year are one of the most common DIY frustrations - and almost universally, the culprit isn't the paint. Cabinet surfaces present a uniquely difficult challenge: they're non-porous, frequently handled, exposed to heat and grease, and regularly wiped with cleaning products. Paint simply cannot grip these surfaces without deliberate preparation.
Understanding why paint fails makes the prep steps feel less like busywork and more like essential engineering. Adhesion depends on cleanliness, surface texture, and primer compatibility. Skip any one of those, and the topcoat - no matter how premium - is working against physics.
~80%
Paint failures caused by poor surface prep
Paint industry professionals broadly estimate that the large majority of coating failures - including chipping and peeling - are attributable to inadequate surface preparation rather than paint product defects.
7-30 days
Typical full cure time for cabinet paint
Most water-based cabinet and trim paints require between one and four weeks to fully harden, according to general manufacturer guidance, even when dry to the touch within hours.
For a broader look at how surface prep applies to interior painting generally, see our room painting guide covering the steps most beginners skip.
The Most Common Cabinet Painting Mistakes
The mistakes below appear repeatedly in failed cabinet paint jobs. Each one has a clear cause and a straightforward fix - knowing both makes it much easier to build the right habits from the start.
Skipping the degreasing step before sanding or priming.
Painting over cabinets without sanding the existing finish.
Using a standard wall primer instead of a bonding or shellac-based primer.
Painting cabinet doors while they are still mounted and hardware is still attached.
Applying thick coats to speed up the process.
Neglecting to sand lightly between coats.
Prep Time Is Paint Job Time
Building a Prep Routine That Actually Holds
A reliable cabinet prep sequence runs in this order: degrease, dry, sand, clean dust, prime, light-sand between coats, then topcoat. Each step feeds the next. Degreasing before sanding ensures you're not embedding grease into the abraded surface. Priming before topcoating gives paint something to bond to at the chemical level, not just the mechanical one.
Don't Skip the Cure Time
One often-overlooked detail is environmental conditions. High humidity and low temperatures both slow dry and cure times significantly. Aim to paint cabinets when the room is between 65°F and 75°F with moderate humidity. Poor conditions are a silent contributor to adhesion failures that get blamed on technique or paint quality.
Finally, choose a paint formulated for cabinets or trim - these typically have harder, more abrasion-resistant finishes than standard wall paint. The finish sheen matters too: semi-gloss and satin sheens hold up better to cleaning and contact than flat or eggshell finishes in high-use areas like kitchens.
The content provided on our blog site traverses numerous categories, offering readers valuable and practical information. Readers can use the editorial team’s research and data to gain more insights into their topics of interest. However, they are requested not to treat the articles as conclusive. The website team cannot be held responsible for differences in data or inaccuracies found across other platforms. Please also note that the site might also miss out on various schemes and offers available that the readers may find more beneficial than the ones we cover.